 Asal Ku Training
Start here › Lesson 9
Sharing a tree with relatives
Give relatives a link or QR code, choose whether they can only look or also help, and understand what they will see.
In this lesson you will learn
- The difference between sharing for viewing and sharing to a manager
- How to create a share link and QR code, and send it
- What your relative sees and does to accept it
- How to tell, in your list, which trees are shared and how
- How a relative removes a shared tree from their list
Two kinds of sharing
| Share for View-Only | Share to a Manager | |
|---|---|---|
| They can look at the whole tree, its details and its gallery | Yes | Yes |
| They can add, change and delete people, links and pictures | No | Yes |
| They can undo and redo their own changes | – | Yes |
| They can delete the whole tree | No | No (only the owner) |
| Their pictures use… | – | The owner's storage |
A manager can change and delete people. They cannot delete the tree itself, but they can do a lot of damage. A relative who just wants to look should get View-Only.
Create a share link
Open the tree you want to share.
Tap the share icon (three dots joined by lines) at the top right.
Choose Share for View-Only or Share to a Manager.
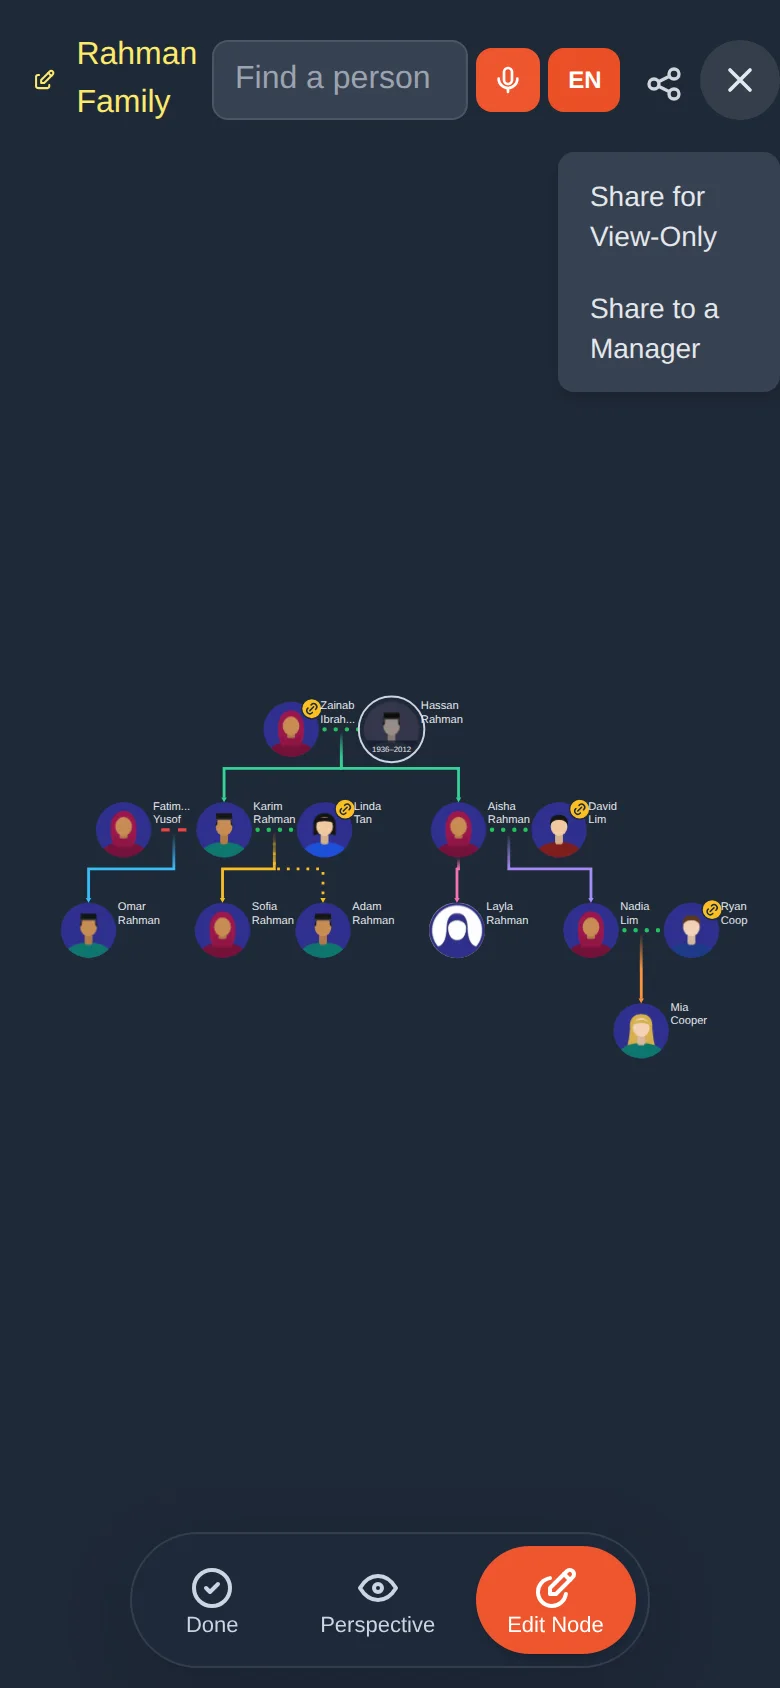
A window appears with a QR code and a link. A short sentence says what the link allows.
Send it the way that suits you:
- In person: let your relative point their phone camera at the QR code, or tap Scan QR in their Asal Ku list and scan it.
- By message: tap Copy link and paste it into WhatsApp, Messages, email or any chat.
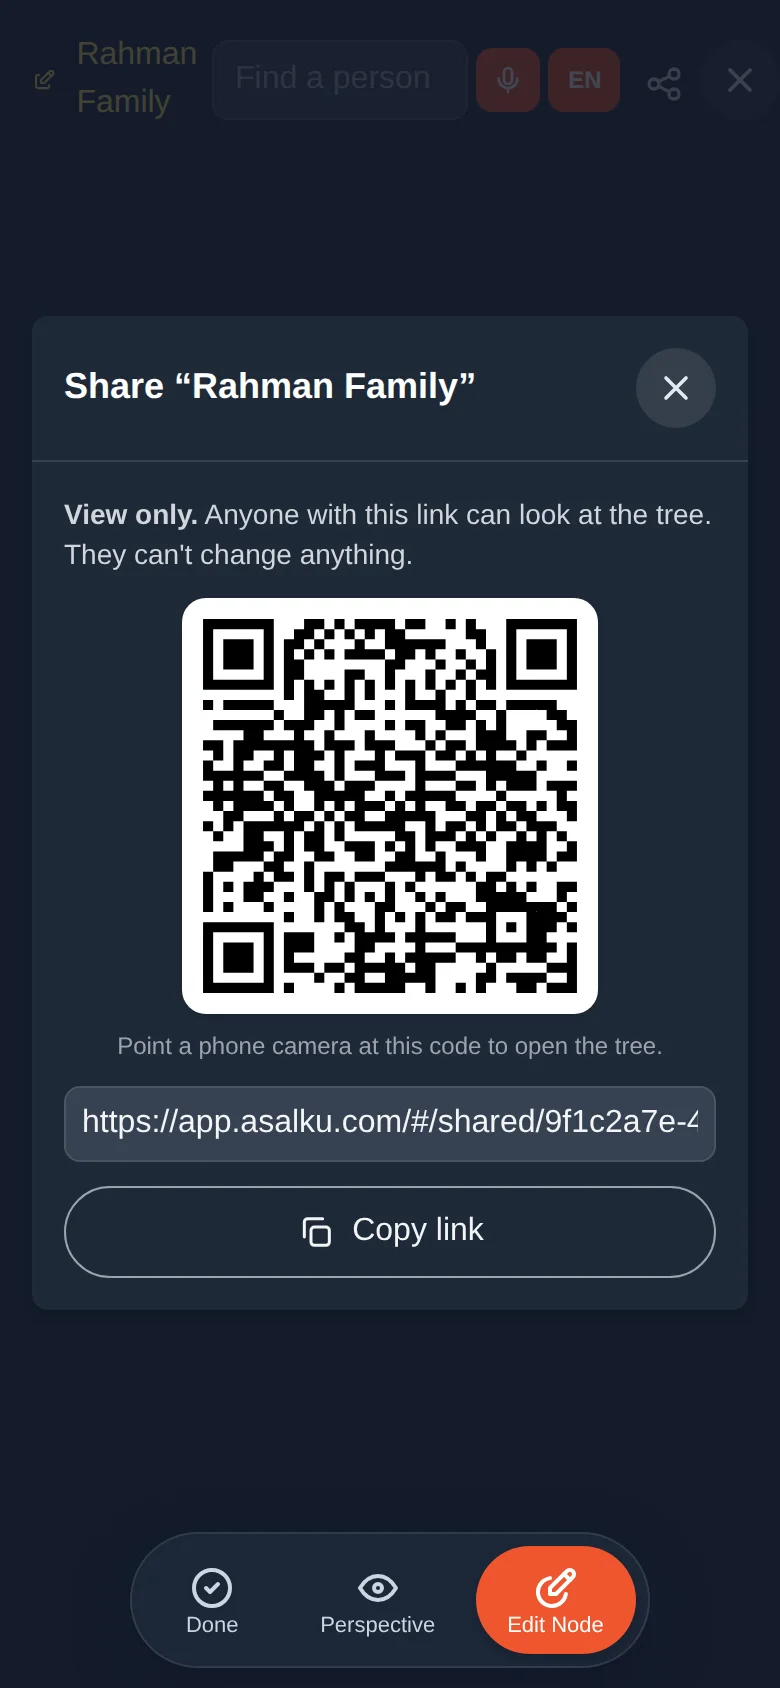
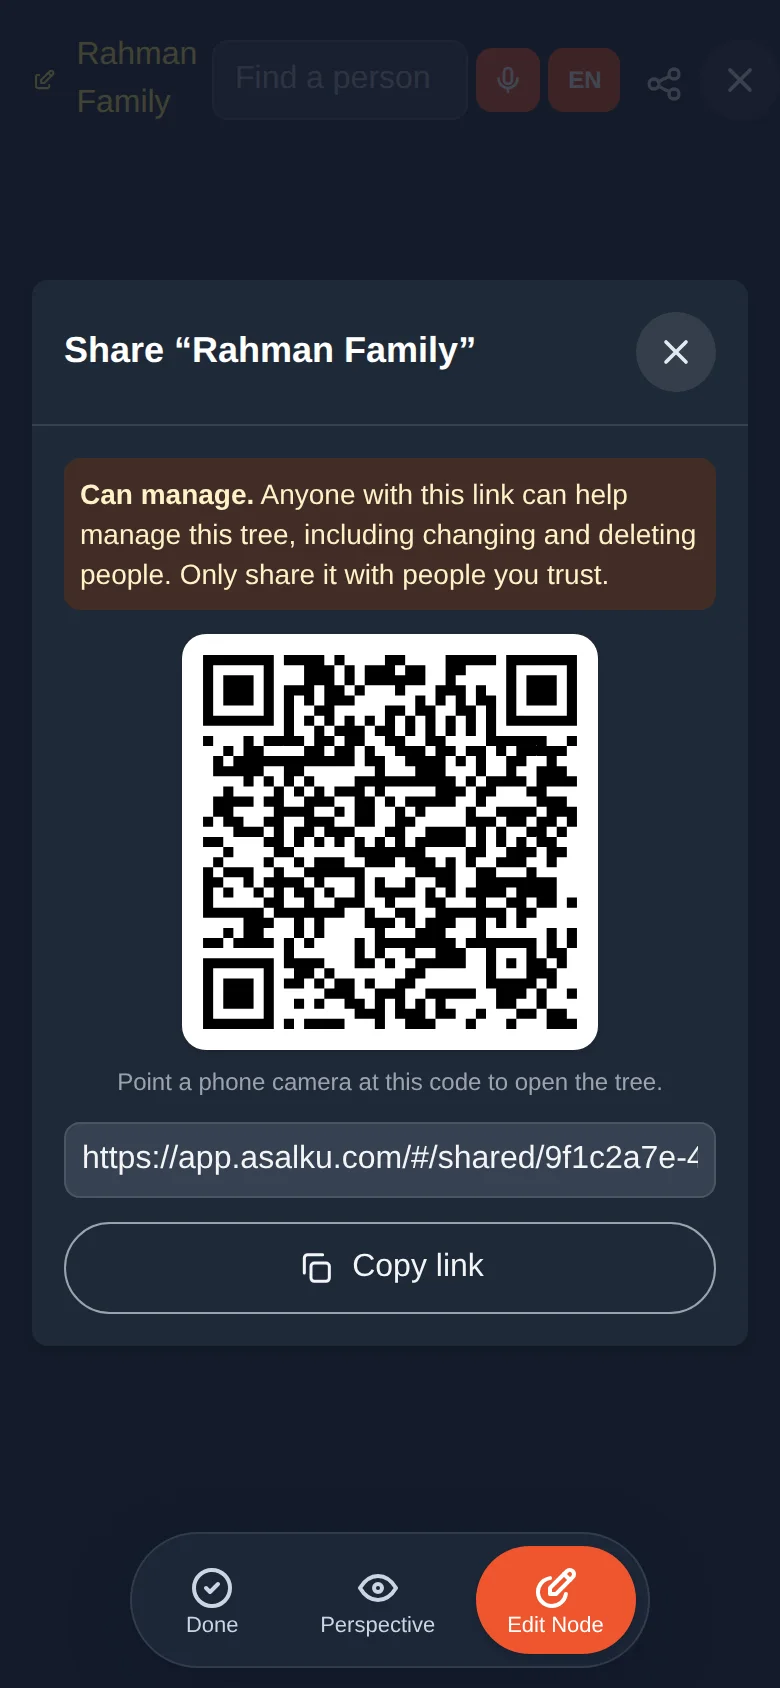
A share link works for whoever has it. Send it privately, not on a public page or group you do not control.
What your relative does
They open the link, or scan the code.
If they are not signed in, they sign in with Google (lesson 2). A first-time visitor creates an account at the same time.
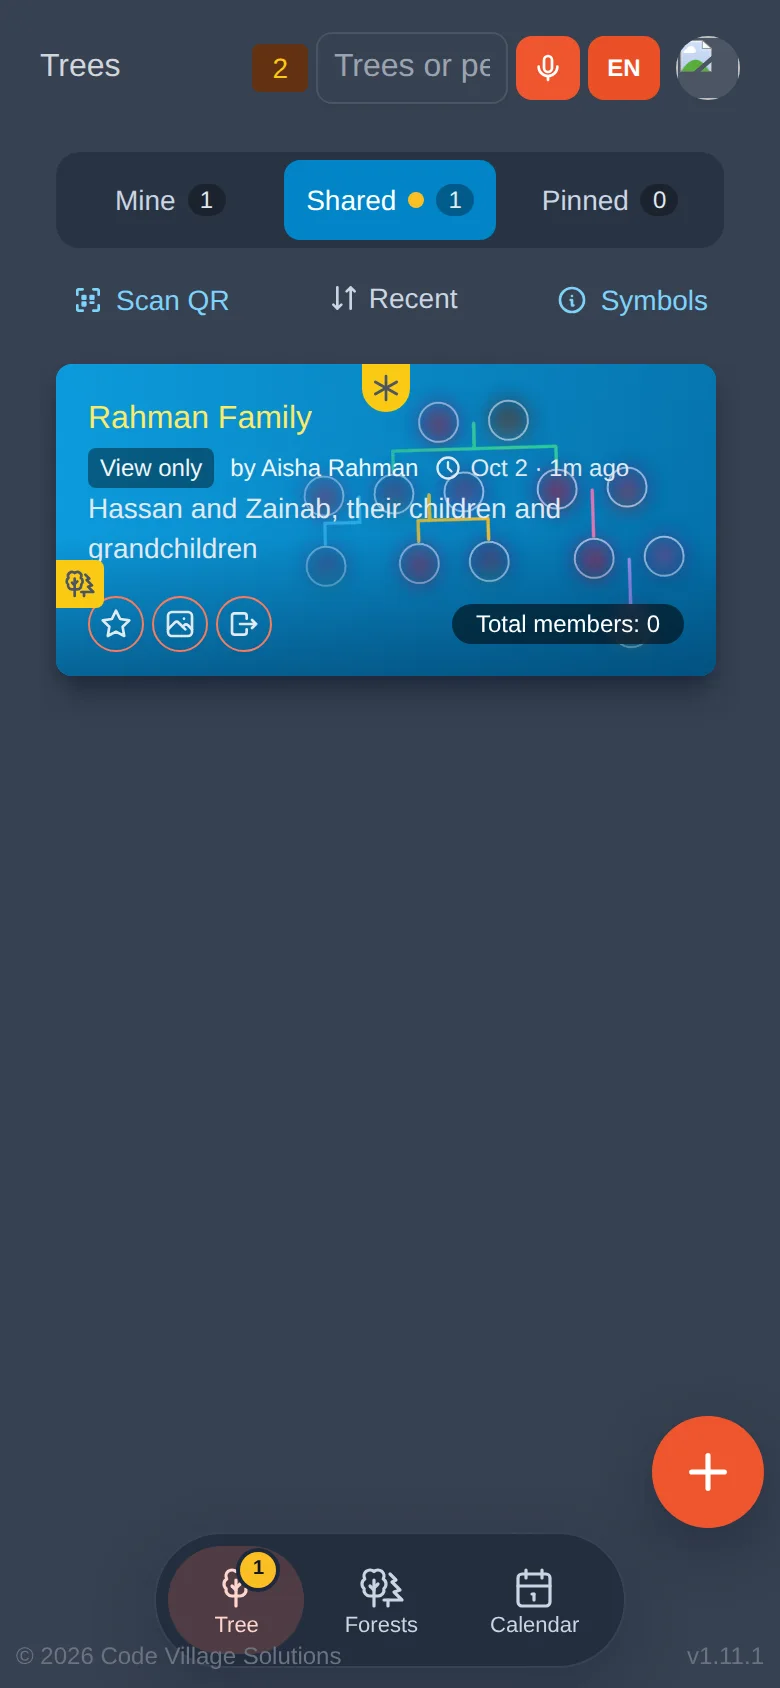
The tree is added to their Shared tab. A message confirms whether they can view it or help manage it.
The owner does nothing more. The relative now has access until they remove it.
See who has access to what
- On your list, the tree shows an eye badge if you shared it for viewing, and a share badge if you share it to a manager. Tap Symbols to read them (lesson 3).
- On your relative's list, the card shows View only or Manager and the name of the owner ("by Aisha Rahman").
Removing a shared tree
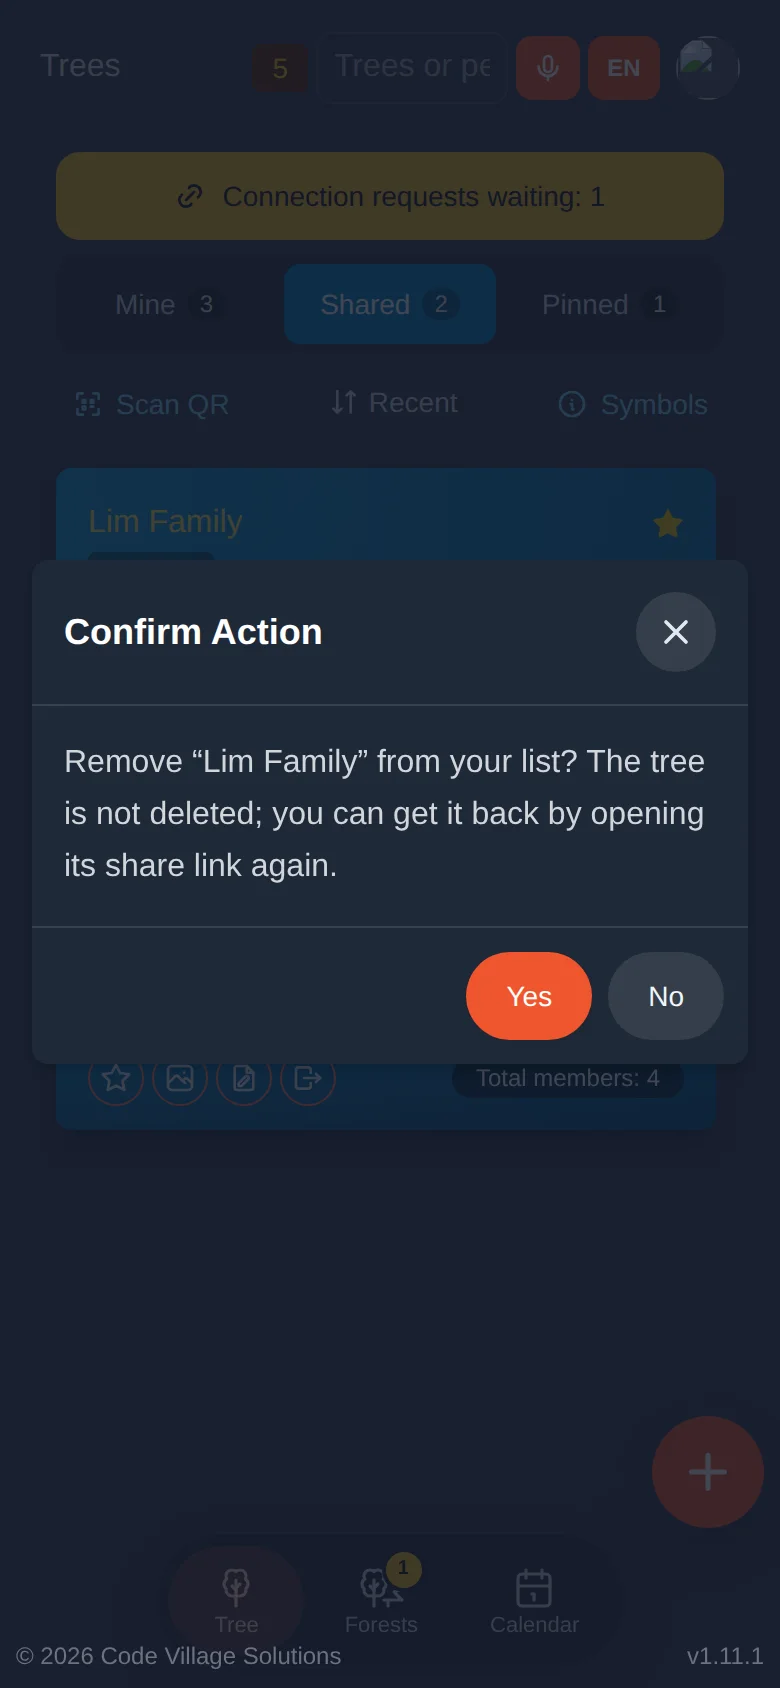
A relative who no longer wants a shared tree taps the Leave button on its card and confirms. The tree is only removed from their list. The owner's tree, and everyone else's access, is unchanged. They can get it back by opening the link again.
Changes made by others
When a relative changes a tree you share, you see a yellow updated badge on its card next time (lesson 3), and the yellow number on the bottom Tree button counts it.
Try it yourself
- Open your Practice Tree and create a View-Only link.
- Copy it and send it to yourself, or to a relative who is happy to help you test.
- Ask them to open it and tell you what they see on their Shared tab.
Remember
- View-Only: look only. Manager: look and edit (not delete the tree).
- A link is the key. Anyone who has it can use it.
- Leaving a shared tree only removes it from your own list.